 Save
Save My daughter came home from school one July afternoon talking about a layered dessert she'd seen at a friend's birthday party, and suddenly I was searching my kitchen for clear cups and boxes of Jello like I was on some kind of mission. There's something almost magical about watching those jewel-toned layers set in the refrigerator, each one getting its turn to firm up before the next color slides in. What started as a simple request became our summer tradition, and now whenever I see those little plastic cups in the grocery store, I smile thinking about how excited she gets to help layer them.
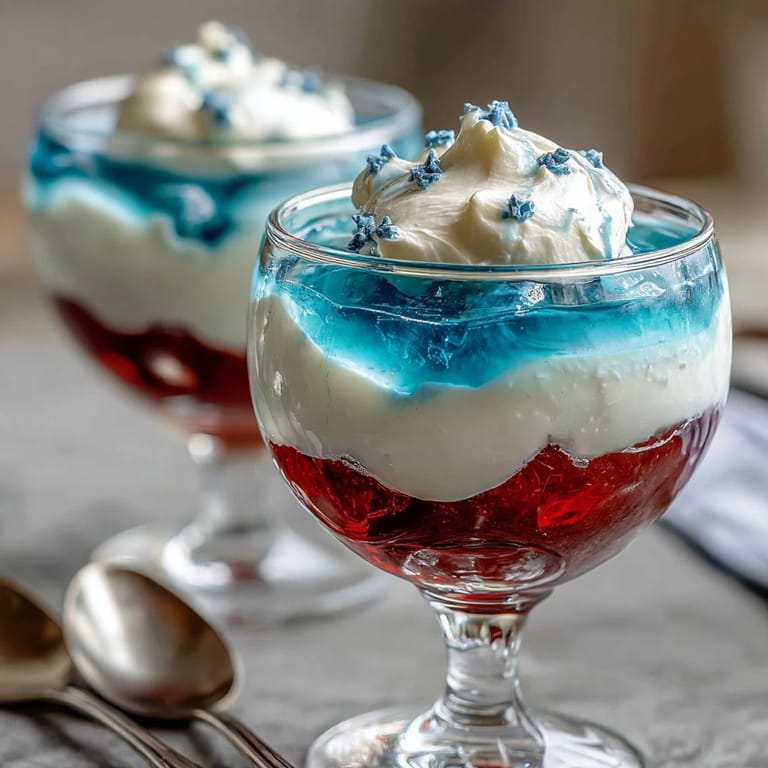
I made these for a Fourth of July potluck at our neighbor's place, and watching people's faces light up when they grabbed a cup from the cooler made me realize how much joy comes from a dessert that actually looks the part. The red, white, and blue layers caught the afternoon sun on the table, and somehow that simple jello in a cup became the thing everyone was talking about. My neighbor asked for the recipe three times that day, and I knew I had found something worth keeping around.
Ingredients
- Strawberry or cherry flavored Jello (3 oz box): This is your bottom layer, and the flavor matters less than the color, so feel free to use whatever red shade appeals to you.
- Boiling water (1 cup for red layer): Boiling helps the Jello dissolve completely without any grainy texture hanging around.
- Cold water (1/2 cup for red layer): This cools the mixture down so it doesn't turn to soup when you pour it into the cups.
- Unflavored gelatin (1 envelope): This is the secret to that creamy white layer that doesn't taste like anything but feels luxurious.
- Cold water (1/2 cup for gelatin): You'll bloom the gelatin in this, which means letting it sit for a few minutes so it can absorb the water and bloom like a little sponge.
- Boiling water (1/2 cup for gelatin): This dissolves the bloomed gelatin completely.
- Sweetened condensed milk (1 cup): This is what makes the white layer creamy and dreamy instead of clear like the other layers.
- Blue raspberry flavored Jello (3 oz box): The top layer, and this flavor is brighter and more distinctive than the red, so it really pops.
- Boiling water (1 cup for blue layer): Same deal as the red layer.
- Cold water (1/2 cup for blue layer): Cooling it down is essential.
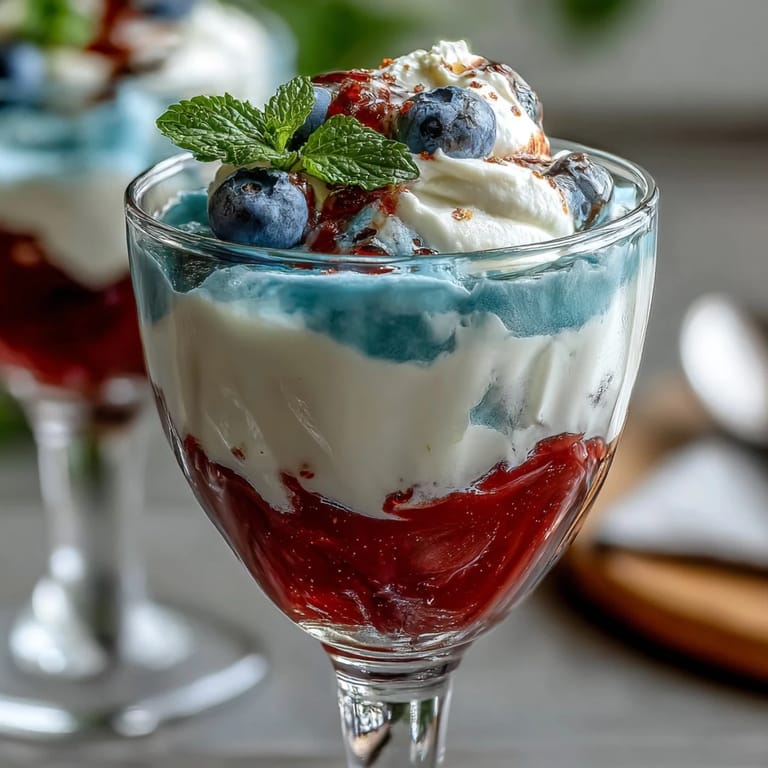
- Whipped cream and fresh berries (optional): These elevate the whole thing if you're feeling fancy, but honestly the cups are beautiful without them.
Tired of Takeout? 🥡
Get 10 meals you can make faster than delivery arrives. Seriously.
One email. No spam. Unsubscribe anytime.
Instructions
- Set up your cups:
- Grab eight clear cups (six to eight ounces each) and get them ready on a flat surface where they'll sit undisturbed for a while. I like to line them up in a muffin tin because it keeps them organized and makes the pouring less chaotic.
- Make the red layer:
- Pour the strawberry Jello into a bowl and cover it with one cup of boiling water, then stir for a couple of minutes until all the powder dissolves completely (no lumps hiding at the bottom). Stir in the cold water, then carefully pour about two tablespoons into each cup.
- Chill the red layer at an angle:
- If you're using a muffin tin, tilt those cups slightly so the red layer sets at an angle, which creates a prettier presentation. Pop them in the fridge for forty-five minutes to an hour until they're completely firm to the touch.
- Prepare the white layer:
- Sprinkle the unflavored gelatin over the cold water in a clean bowl and let it sit for five minutes without stirring (this blooming step is important or you'll end up with lumps). Pour the boiling water over it and stir until every speck of gelatin has dissolved, then stir in the sweetened condensed milk and let it cool to room temperature (this usually takes about ten minutes).
- Add the white layer:
- Once the red layer is totally set, carefully pour about two tablespoons of the white mixture on top of each cup, pouring gently so it doesn't disturb the red layer below. Stand the cups upright and refrigerate for another forty-five minutes to an hour until the white is firm.
- Make the blue layer:
- Mix the blue Jello with one cup boiling water, stir well, then add the cold water and let it cool completely to room temperature (don't skip this step or it'll melt the white layer). Once it's cool, carefully pour about two tablespoons on top of the white layer in each cup.
- Final chill:
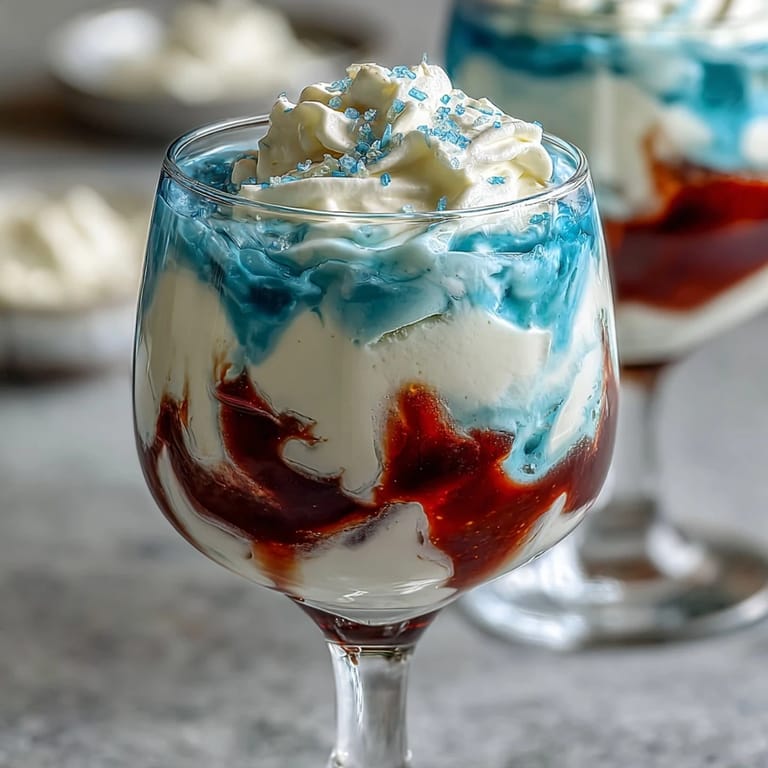
- Set the cups upright in the fridge for at least two hours, though overnight is even better because it gives everything time to set into three distinct, beautiful layers. Right before serving, top with a dollop of whipped cream and a few fresh berries if you're feeling it.
 Save
Save There was a moment at that potluck when a little kid bit into one of these cups and his eyes got huge because he wasn't expecting the white layer to taste so different from the red and blue ones. That surprised delight is exactly what these cups are about—they're not just dessert, they're a small, edible surprise party in a cup.
The Magic of Layering
The first time I made these, I got impatient and tried pouring the white layer before the red was completely set, and everything turned into a muddy pink mess that tasted fine but looked like a fail. I learned that day that sometimes the dessert you make teaches you more about timing and care than it does about cooking itself. There's something almost meditative about waiting between layers, checking the fridge, and knowing that good things come to those who don't rush the process.
Flavor Combinations to Try
Once you've nailed the classic red, white, and blue, you can get creative with different berry flavors or even try lime and orange for a tropical twist. I've experimented with raspberry on the bottom, the creamy white in the middle, and blackberry on top, and it was equally gorgeous and delicious. The formula stays the same; only the colors and flavors change, so you can have fun with it based on the season or what flavors are calling to you.
Making Them Ahead and Storage
These cups are actually better made a day or two in advance because the flavors have time to settle and the layers become even more distinct and firm. They'll keep in the fridge for up to three days covered loosely with plastic wrap, which means you can make them on a Friday and serve them stress-free on Sunday. Just before serving, add the whipped cream and berries so everything stays fresh and the cream doesn't get soggy.
- Transport them in a shallow container with a cardboard divider or by carefully packing them in a muffin tin if you're taking them somewhere.
- If you're serving them at a party, pull them out about five minutes before guests arrive so they're cold but not rock-hard.
- The white layer stays creamier if you let the cups sit at room temperature for just a minute or two before eating.
 Save
Save These little cups have become my go-to dessert for celebrations and gatherings, and I love how they never fail to make people smile. They're proof that something simple, made with patience and a little bit of care, can absolutely be the thing that people remember about your table.
Recipe FAQs
- → How do I achieve distinct layers?
Allow each layer to fully set in the refrigerator before pouring the next to prevent colors from mixing.
- → Can I substitute dairy ingredients?
Yes, swap sweetened condensed milk with coconut milk and sugar for a dairy-free alternative.
- → What tools are needed for layering?
Use clear cups and optionally a muffin tin to hold cups at an angle for neat layered effects.
- → Are there flavor variations available?
You can swap berry flavors or use different gelatin varieties while keeping the layered effect.
- → Is this suitable for gluten-free diets?
Yes, provided the gelatin and condiments are verified gluten-free, this dessert suits gluten-free diets.