 Save
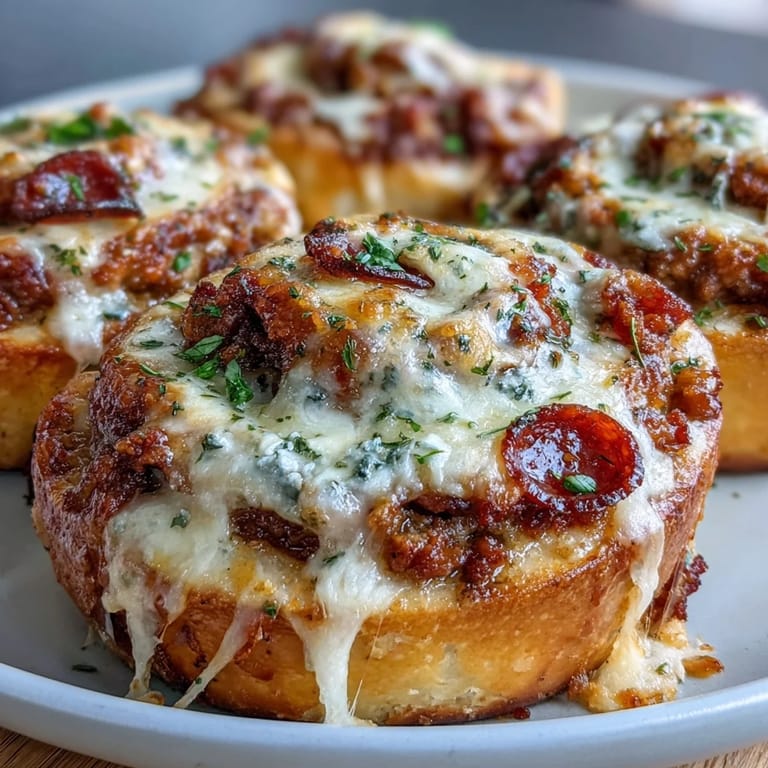
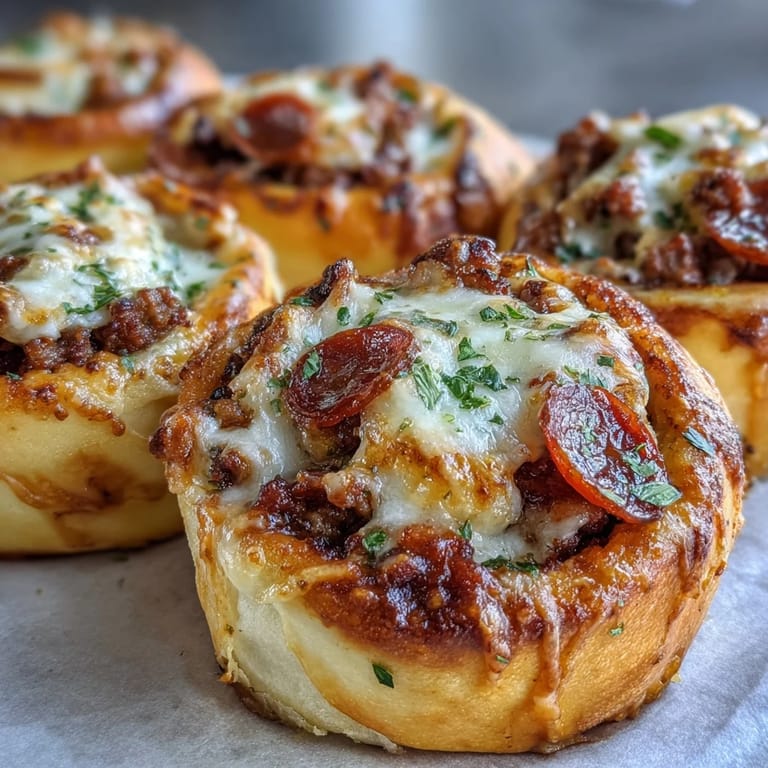
Save My neighbor knocked on my door one Saturday morning holding a Tupperware full of these golden spirals, still warm. She'd been testing meal prep ideas for her teenager's football season and wanted a second opinion. I ate three standing in my kitchen before I even asked what was in them. The dough was pillowy but not heavy, the filling hit every savory note, and I couldn't believe how much protein she'd packed into something that tasted like pure comfort food.
I started making these every Sunday after that first taste, and they became my go to whenever I needed something that felt indulgent but kept me on track. My kids would hover around the oven as the cheese bubbled and the edges turned golden, and I'd have to swat hands away so they'd cool enough to pack for school lunches. One batch disappeared so fast I didn't even get a photo. Now I double the recipe every time and stash half in the freezer, because there's nothing better than pulling out a homemade pizza roll on a busy Wednesday.
Ingredients
- Plain Greek yogurt: This is the magic behind the dough's soft texture and high protein count, use nonfat or low fat and make sure it's thick, not runny.
- Self rising flour: It gives the dough lift without yeast or waiting, and you can make your own by mixing all purpose flour with baking powder and salt.
- Egg: Binds the dough and adds richness, plus a little extra protein boost.
- Lean ground beef: Go for 5% fat or leaner so the filling stays flavorful without excess grease.
- Turkey or beef pepperoni: Swap regular pepperoni for a leaner version to keep the protein high and the fat in check.
- Part skim mozzarella: Melts beautifully and keeps the cheese pull intact without overloading on calories.
- Pizza sauce: Use your favorite jarred variety or a simple marinara, just make sure it's not too watery.
- Italian herbs: Oregano and basil bring that classic pizza aroma and tie the filling together.
- Olive oil: A light brush on top before baking gives the rolls a golden, slightly crisp finish.
- Parmesan cheese: A sprinkle adds a sharp, salty contrast that makes every bite more interesting.
Tired of Takeout? 🥡
Get 10 meals you can make faster than delivery arrives. Seriously.
One email. No spam. Unsubscribe anytime.
Instructions
- Preheat and Prep:
- Set your oven to 400°F and line a baking sheet with parchment paper. This keeps the rolls from sticking and makes cleanup a breeze.
- Brown the Beef:
- Cook the ground beef in a nonstick skillet over medium heat, breaking it into small crumbles, until it's browned and cooked through. Drain any fat, stir in the black pepper and Italian herbs, then set it aside to cool a bit.
- Make the Dough:
- In a large bowl, combine Greek yogurt, self rising flour, egg, garlic powder, and salt, stirring until a sticky dough comes together. Turn it out onto a floured surface and knead for 2 to 3 minutes until it feels smooth and elastic.
- Roll It Out:
- Roll the dough into a rectangle about 12 by 10 inches. Try to keep the thickness even so the rolls bake uniformly.
- Spread the Sauce:
- Spread pizza sauce evenly over the dough, leaving a half inch border around the edges. This border helps seal the roll when you slice it.
- Add the Filling:
- Scatter the cooked beef, pepperoni slices, and shredded mozzarella over the sauce. Spread it all out evenly so every roll gets a fair share.
- Roll and Slice:
- Starting from one long edge, roll the dough tightly into a log, then slice it into 12 equal pieces with a sharp knife. Don't worry if a little filling spills out, it happens.
- Arrange and Top:
- Place the rolls cut side up on your prepared baking sheet, brush the tops lightly with olive oil, and sprinkle with Parmesan and dried parsley. The oil helps them brown and the cheese adds a savory crust.
- Bake:
- Bake for 18 to 22 minutes, or until the rolls are golden brown and the cheese is bubbling. Your kitchen will smell incredible.
- Cool and Serve:
- Let the rolls cool for a few minutes before serving. They're easier to handle and the flavors settle in beautifully.
 Save
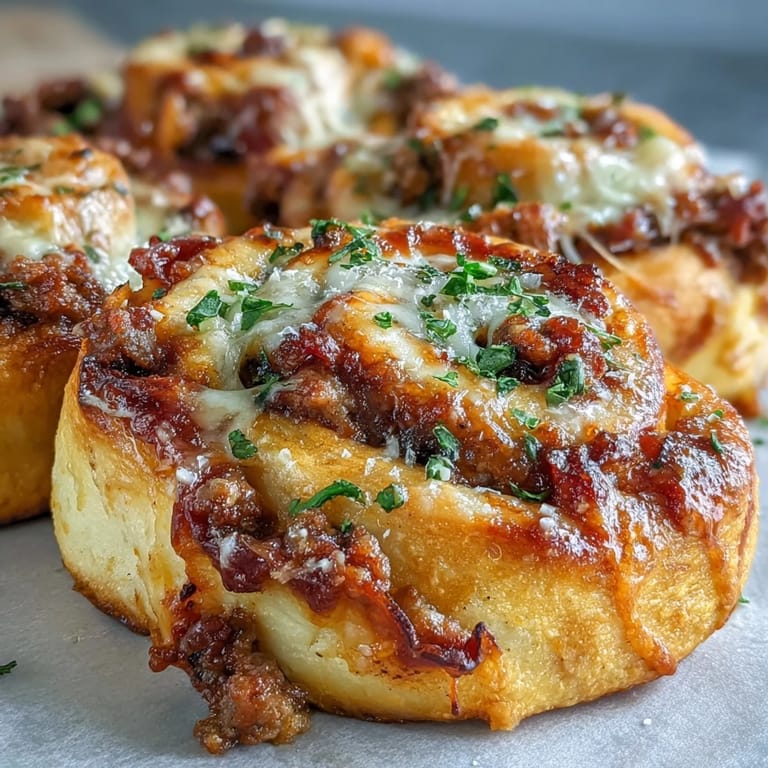
Save The first time I brought these to a potluck, someone asked if I'd bought them from a bakery. I just laughed and said I made them in less than an hour, and half the room asked for the recipe. It's that moment when something so simple becomes a conversation starter, when people realize homemade doesn't have to mean complicated. These rolls have a way of making you look like you tried harder than you did, and that's a win in my book.
Making It Your Own
I've swapped the ground beef for ground turkey or chicken when I'm trying to keep things even leaner, and it works just as well. You can toss in finely chopped bell peppers or a handful of spinach to sneak in some veggies, or add a pinch of crushed red pepper flakes if you like a little heat. One time I used up leftover rotisserie chicken and it turned into a whole new flavor profile. The beauty of these rolls is they're a blank canvas for whatever you've got in the fridge.
Storing and Reheating
These rolls keep in an airtight container in the fridge for up to four days, and they taste just as good reheated in the oven or microwave. I like to wrap a few individually in foil and freeze them, then pop one in the oven at 350°F for 10 to 12 minutes when I need a quick lunch. They come out just as soft and cheesy as the day I made them. Honestly, having a stash in the freezer feels like a secret weapon against takeout temptation.
Serving Suggestions
I usually serve these with a side of marinara or ranch for dipping, and sometimes a simple green salad to round out the meal. They're perfect for game day, after school snacks, or even a casual dinner when you don't feel like cooking something elaborate. My husband likes to eat them cold straight from the fridge, which I thought was weird until I tried it myself.
- Pair with a crisp salad or roasted veggies for a balanced meal.
- Serve with extra pizza sauce, ranch, or garlic butter for dipping.
- Pack them in lunchboxes with a piece of fruit and some veggies for a complete grab and go option.
 Save
Save These pizza rolls have become one of those recipes I make without thinking, the kind that fits into busy weeks and lazy weekends alike. They're proof that high protein doesn't have to mean boring, and that a little creativity in the kitchen can turn simple ingredients into something you'll crave on repeat.
Recipe FAQs
- → Can I use regular flour instead of self-rising?
Yes. Combine 2 cups all-purpose flour with 3 tsp baking powder and 1/2 tsp salt to create homemade self-rising flour. The rolls will bake up just as fluffy and golden.
- → How do I store leftovers?
Refrigerate in an airtight container for up to 4 days. For longer storage, freeze baked rolls individually wrapped and reheat at 350°F for 10–12 minutes.
- → Can I make these vegetarian?
Absolutely. Replace ground beef with plant-based crumbles or extra vegetables like bell peppers, mushrooms, and spinach. Use vegetarian pepperoni or omit entirely.
- → What makes the dough protein-rich?
The Greek yogurt provides extra protein compared to traditional dough, while the egg and cheese filling boost each roll to 14g protein—perfect for active lifestyles.
- → Can I prepare these ahead of time?
Assemble and slice rolls, then refrigerate unbaked for up to 24 hours. Add 2–3 minutes to baking time if baking chilled. Alternatively, freeze unbaked and bake from frozen at 350°F for 20–25 minutes.